1. useEffect 사용하기
- 새로운 앱(effect) 생성

⏺ 배열을 화면에 표시해보자
- json 검증사이트: https://jsonlint.com/
JSON Online Validator and Formatter - JSON Lint
Loading... About the JSONLint Editor JSONLint is a validator and reformatter for JSON, a lightweight data-interchange format. Copy and paste, directly type, or input a URL in the editor above and let JSONLint tidy and validate your messy JSON code. What Is
jsonlint.com

- public 폴더 > data 폴더 생성 > products.json 파일 생성
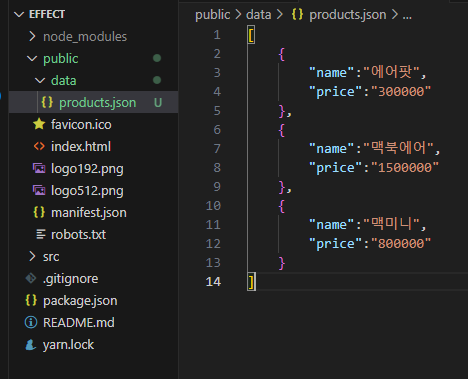
- products.json
< products.json >
[
{
"name":"에어팟",
"price":"300000"
},
{
"name":"맥북에어",
"price":"1500000"
},
{
"name":"맥미니",
"price":"800000"
}
]
src > App.js
< src > App.js >
import './App.css';
import Products from './components/Products';
function App() {
return (
<div>
<Products/>
</div>
);
}
export default App;

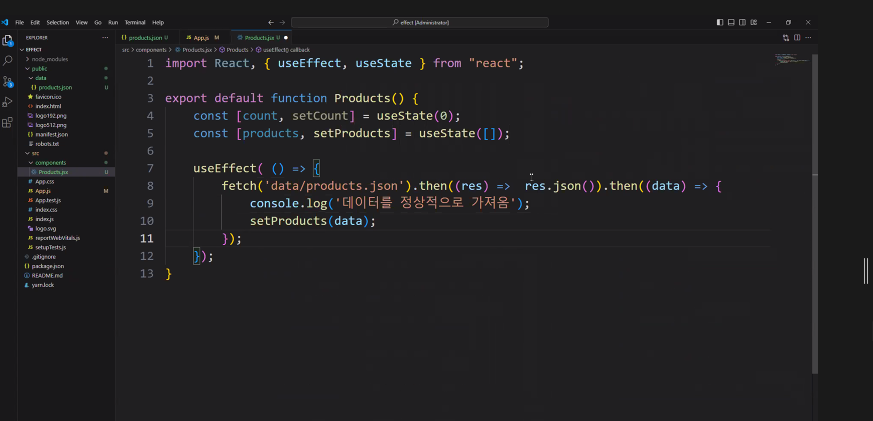
- components 폴더 생성 > products.jsx
< Products.jsx >
import React, { useEffect, useState } from "react";
export default function Products() {
const [products, setProducts] = useState([]);
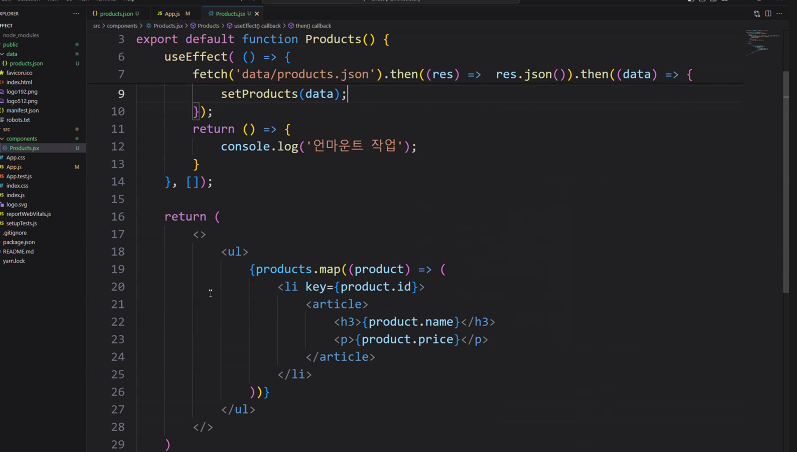
useEffect( () => {
fetch('data/products.json').then((res) => res.json()).then((data) => {
console.log('데이터를 정상적으로 가져옴');
setProducts(data);
});
return () => {
console.log('언마운트 작업');
}
}, []);
return (
<>
<ul>
{products.map((product) => (
<li key={product.id}>
<article>
<h3>{product.name}</h3>
<p>{product.price}</p>
</article>
</li>
))}
</ul>
</>
);
}


 |
2. 웹소켓
- Project > server 폴더 Visual Studio로 열기
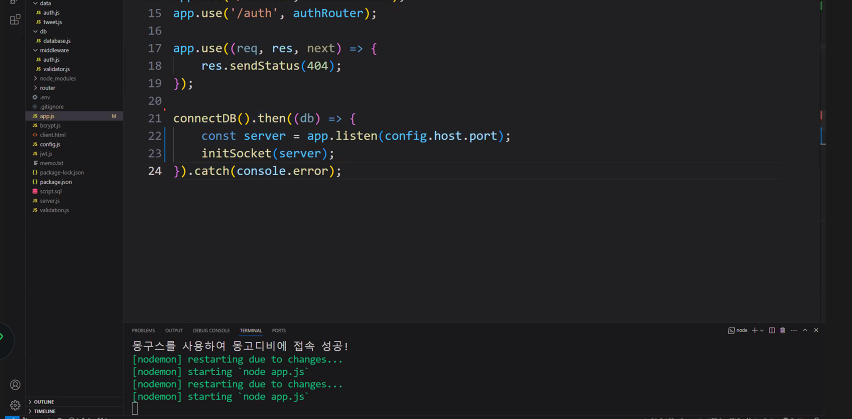
- app.js
< app.js >
import express from "express";
import morgan from "morgan";
import tweetsRouter from './router/tweets.js';
import authRouter from './router/auth.js';
import { config } from "./config.js";
import { connectDB } from "./db/database.js";
import { initSocket } from "./connection/socket.js" //추가
const app = express();
app.use(express.json());
app.use(morgan("dev"));
app.use('/tweets', tweetsRouter);
app.use('/auth', authRouter);
app.use((req, res, next) => {
res.sendStatus(404);
});
//DB 연결 테스트!
connectDB().then((db) => {
console.log('몽구스를 사용하여 몽고디비에 접속성공')
app.listen(config.host.port);
}).catch(console.error);
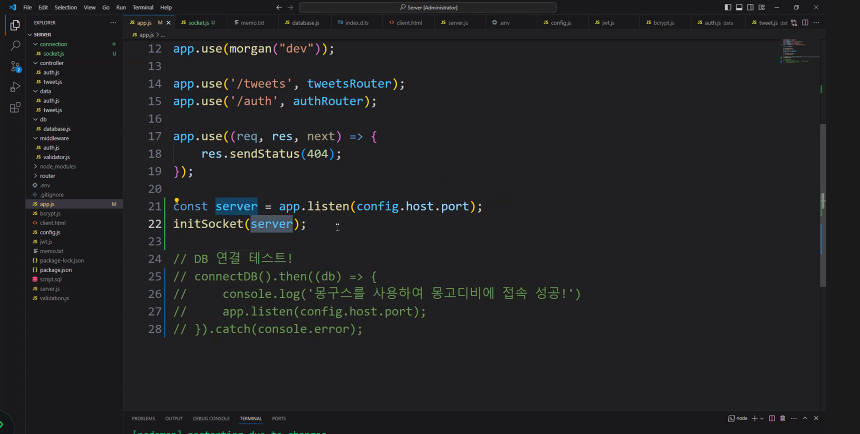
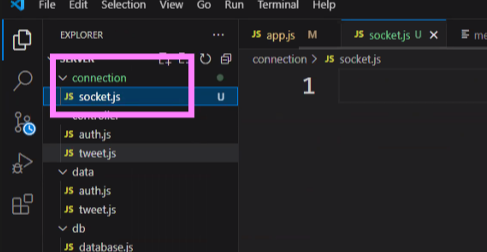
- connection 폴더 생성 > socket.js
< socket.js >
import { Server } from 'socket.io';
import jwt from 'jsonwebtoken';
import { config } from '../config.js';
class Socket {
constructor(server) {
this.io = new Server(server, {
cors: {
origin: '*'
}
})
this.io.use((socket, next) => {
const token = socket.handshake.auth.token;
if(!token){
return next(new Error('인증 에러!'));
}
jwt.verify(token, config.jwt.secretKey, (error, decoded) => {
if(errror){
return next(new Error('인증 에러!'));
}
next();
});
});
this.io.on('connection', (socket) => {
console.log('클라이언트 접속!');
});
}
}
let socket;
export function initSocket(server) {
if(!socket){
socket = new Socket();
}
}
export function getSocketIo(){
if(!socket){
throw new Error('먼저 init를 실행하세요!');
}
return socket.io;
}
- controller 폴더 > tweet.js
< tweet.js >
import { getSocketIo } from '../connection/socket.js'; //추가
import * as tweetRepository from '../data/tweet.js';
// 여러 트윗을 가져오는 함수
export async function getTweets(req, res){
const username = req.query.username;
const data = await (username ? tweetRepository.getAllByUsername(username)
: tweetRepository.getAll());
res.status(200).json(data);
}
// 하나의 트윗을 가져오는 함수
export async function getTweet(req, res, next) {
const id = req.params.id;
const tweet = await tweetRepository.getById(id);
if(tweet){
res.status(200).json(tweet);
}else{
res.status(404).json({message: `${id}의 트윗이 없습니다`})
}
}
// 트윗을 생성하는 함수
export async function createTweet(req, res, next) {
const { text } = req.body;
const tweet = await tweetRepository.create(text, req.userId);
res.status(201).json(tweet);
getSocketIo().emit('tweets',tweet);//추가
}
// 트윗을 변경하는 함수
export async function updateTweet(req, res, next) {
const id = req.params.id;
const text = req.body.text;
const tweet = await tweetRepository.update(id, text);
if(tweet){
res.status(201).json(tweet);
}else{
res.status(404).json({message: `${id}의 트윗이 없습니다`})
}
}
// 트윗을 삭제하는 함수
export async function deleteTweet(req, res, next) {
const id = req.params.id;
await tweetRepository.remove(id);
res.sendStatus(204);
}
- Git-hub에 commit : 웹소켓 적용
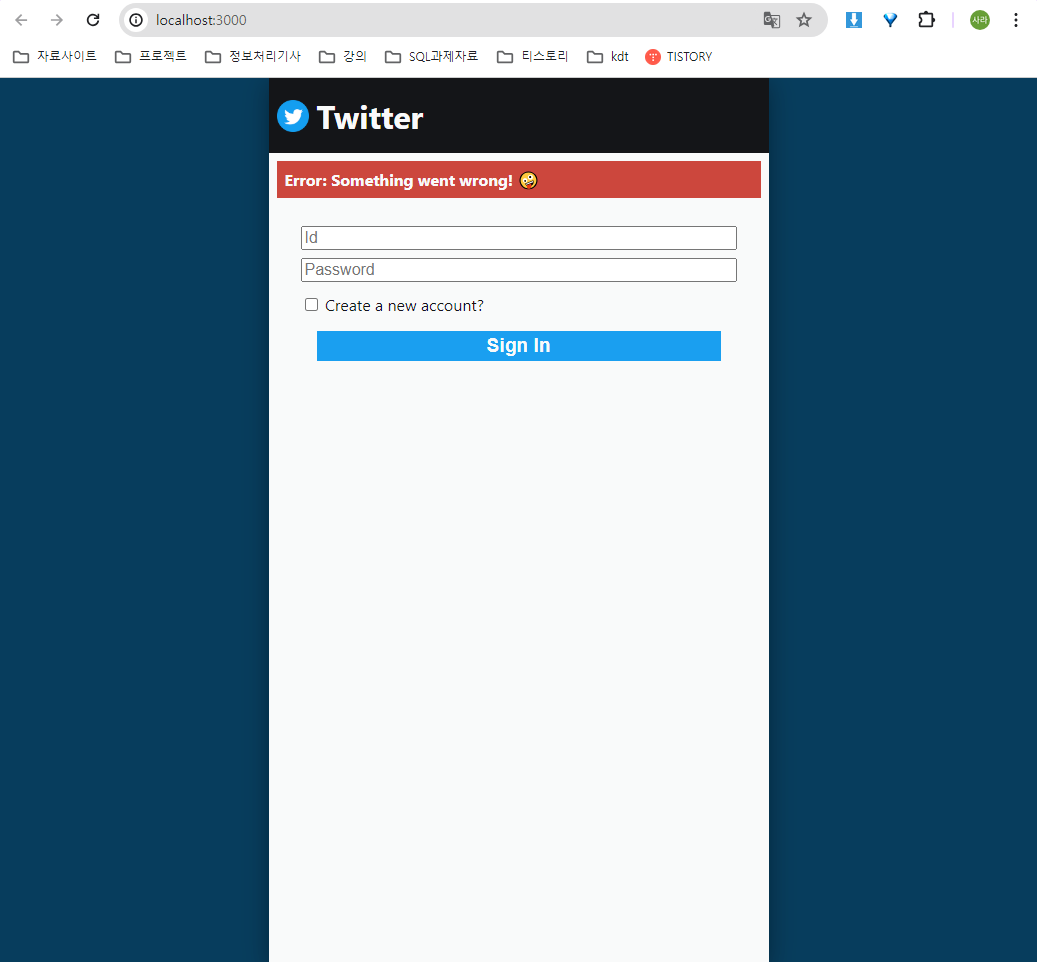
⏺ 웹소켓: 리엑트와 서버 연결하기
- 웹소켓 리액트 파일(Twitter_Client.zip) 다운
- .env 파일 생성
<.env >
REACT_APP_BASE_URL=127.0.0.1:8080
- audit 설치
npm audit
npm audit fix
npm i audit fix --force (이걸로 설치함)
설치 후
npm start
| 서버와 연결된 React가 실행됨 |
'Web > React' 카테고리의 다른 글
| 04. 배열 데이터 활용, useRef (0) | 2024.05.16 |
|---|---|
| 03. Counter, Input, useState (0) | 2024.05.16 |
| 02. 컴포넌트에 값 전달하기 (0) | 2024.05.13 |
| 01. React, 컴포넌트 생성 (0) | 2024.05.13 |


